1. No Visible Clues Outside
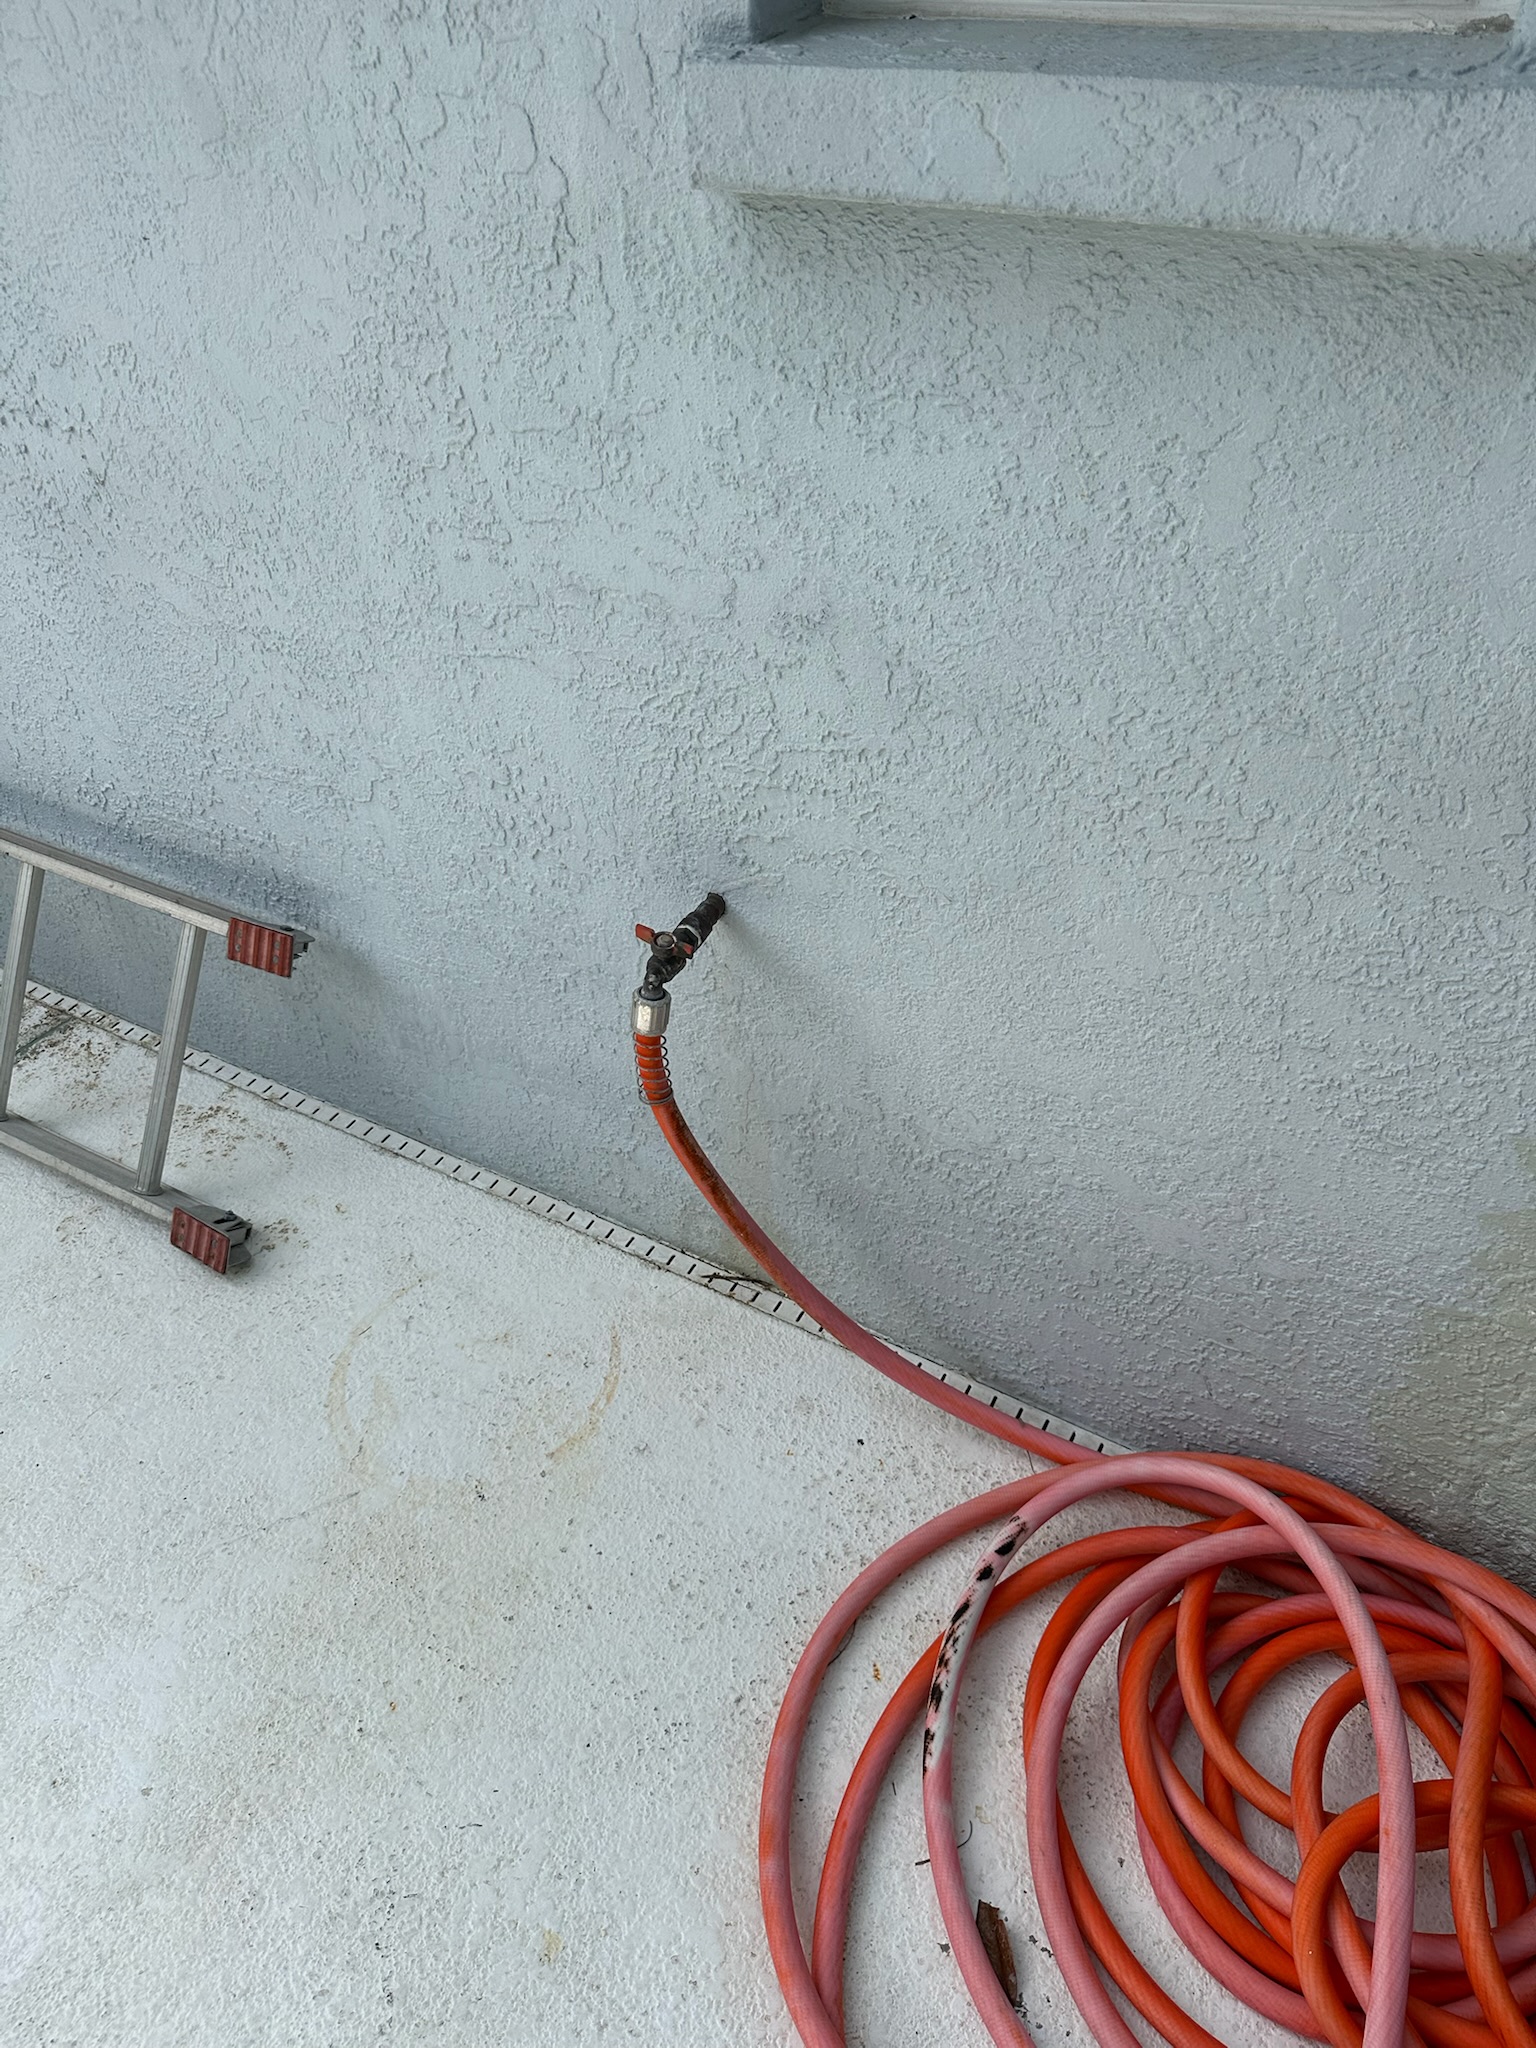
The first clue we examined was the hose bibb on the back of the house. At first glance, everything looked completely normal—no signs of water, damage, or concern. It’s the kind of image you’d scroll right past, but that’s exactly what makes Clearwater water leaks so dangerous: the damage can be extensive without any surface-level indication.
2. Scanning the Interior—No Visible Moisture
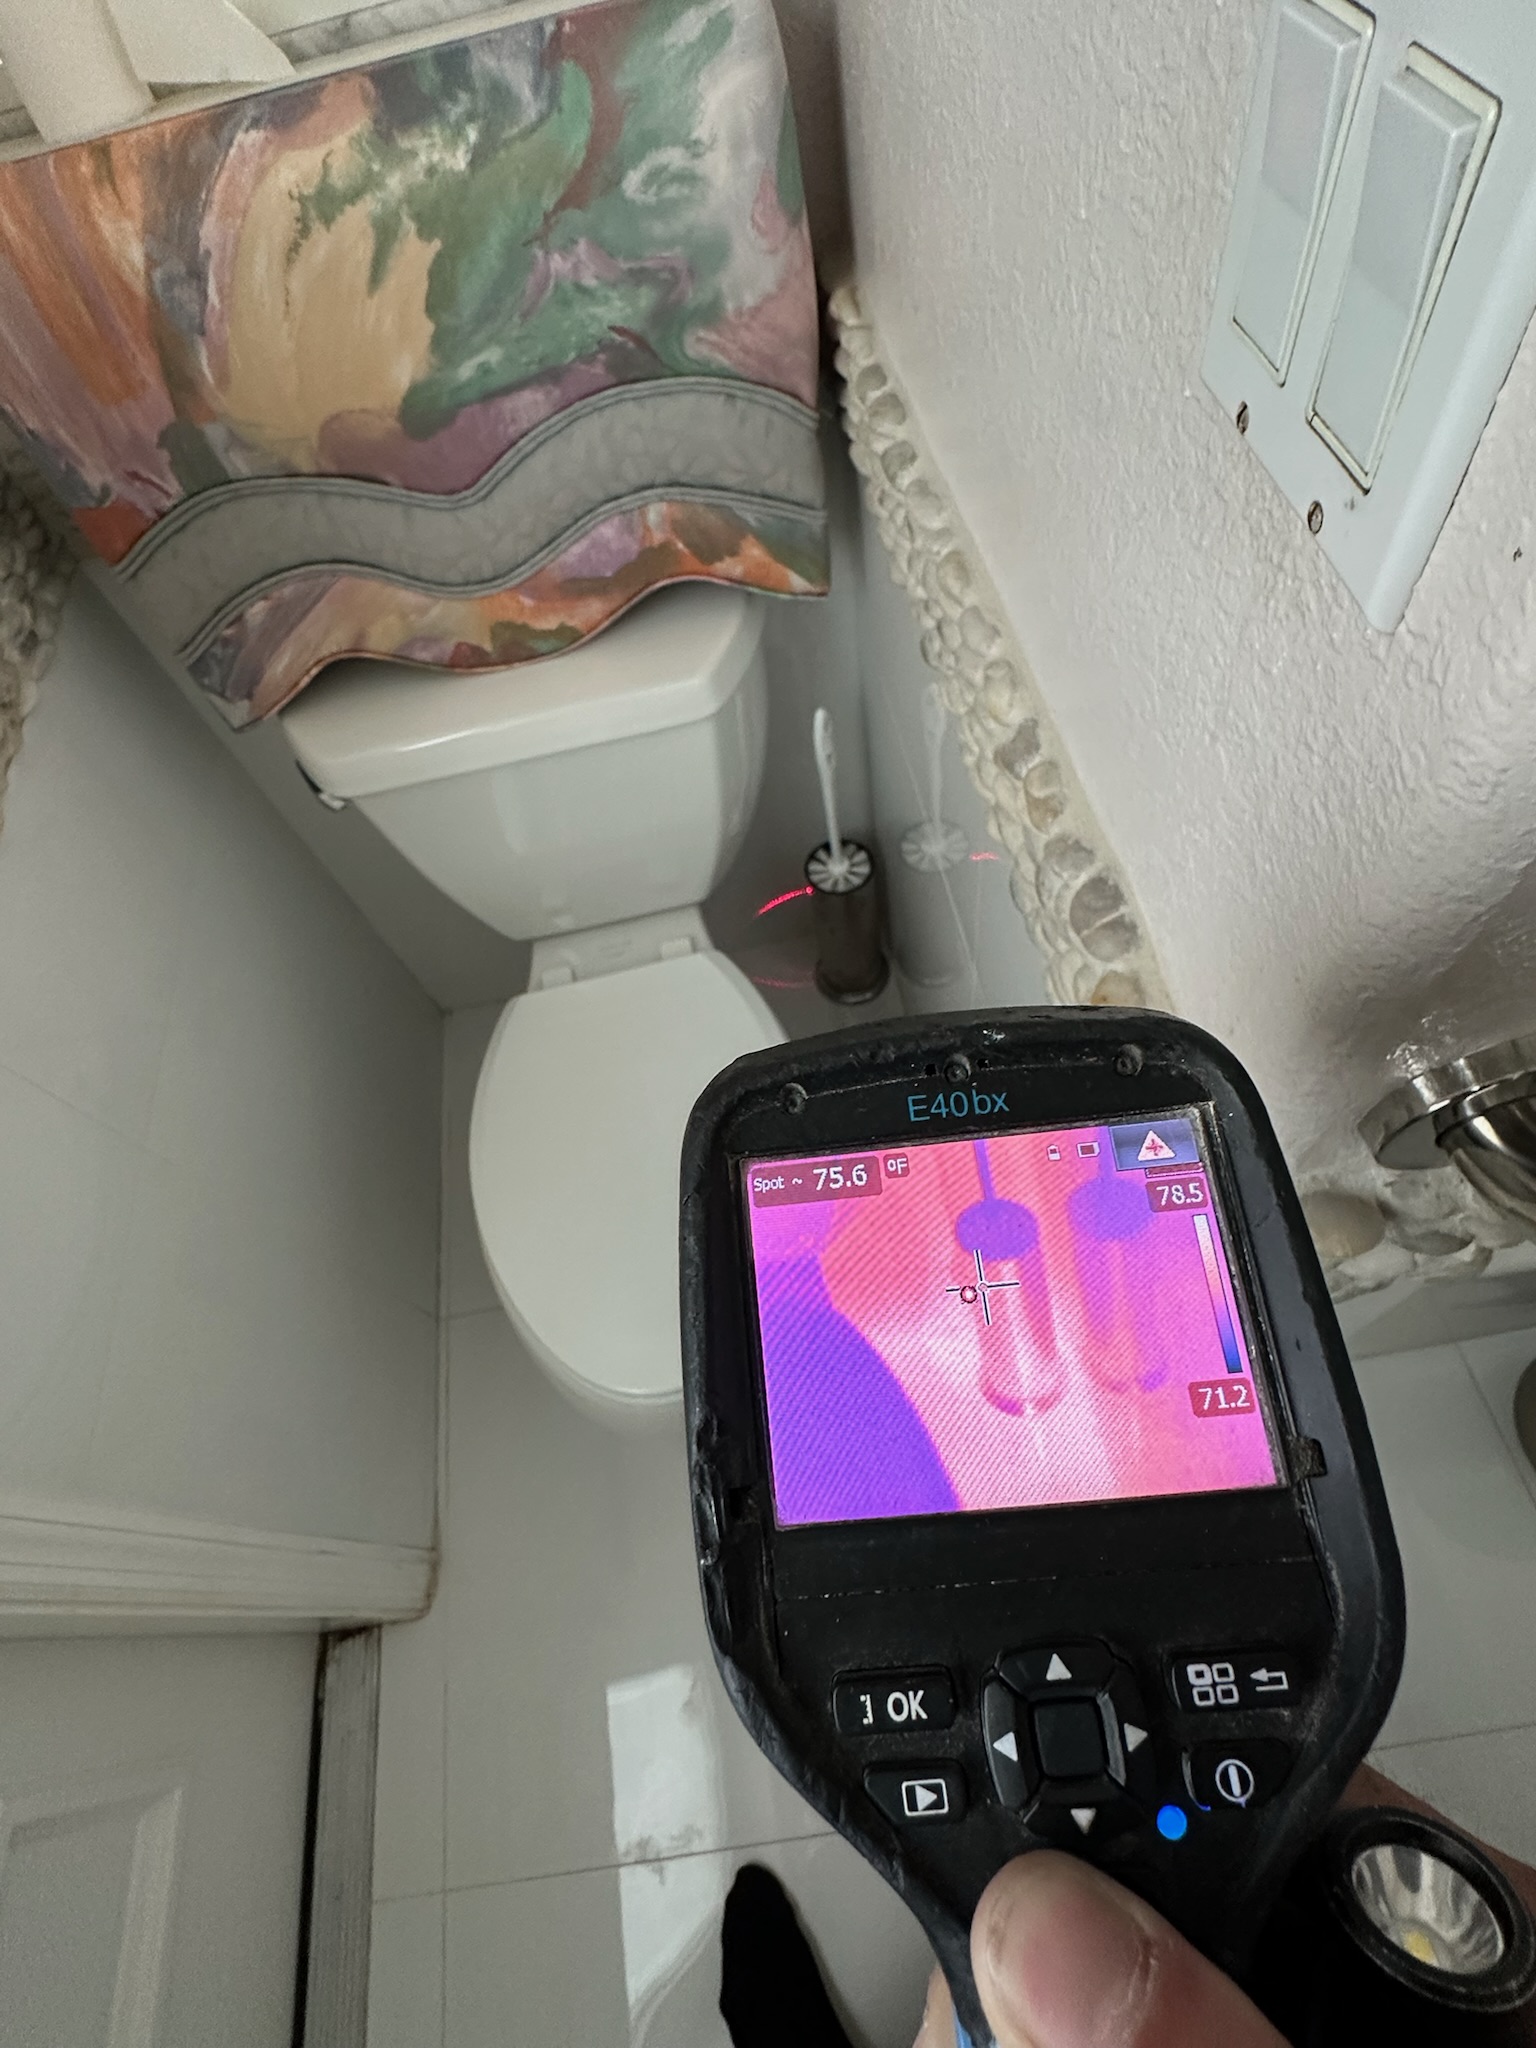

We moved inside to check the area behind a toilet, directly opposite the exterior hose bibb. With our FLIR infrared camera, no moisture was detected on either side of the bathroom wall. At this point, the average plumber or handyman might begin tearing into this area based on proximity—but that would’ve been a major mistake.
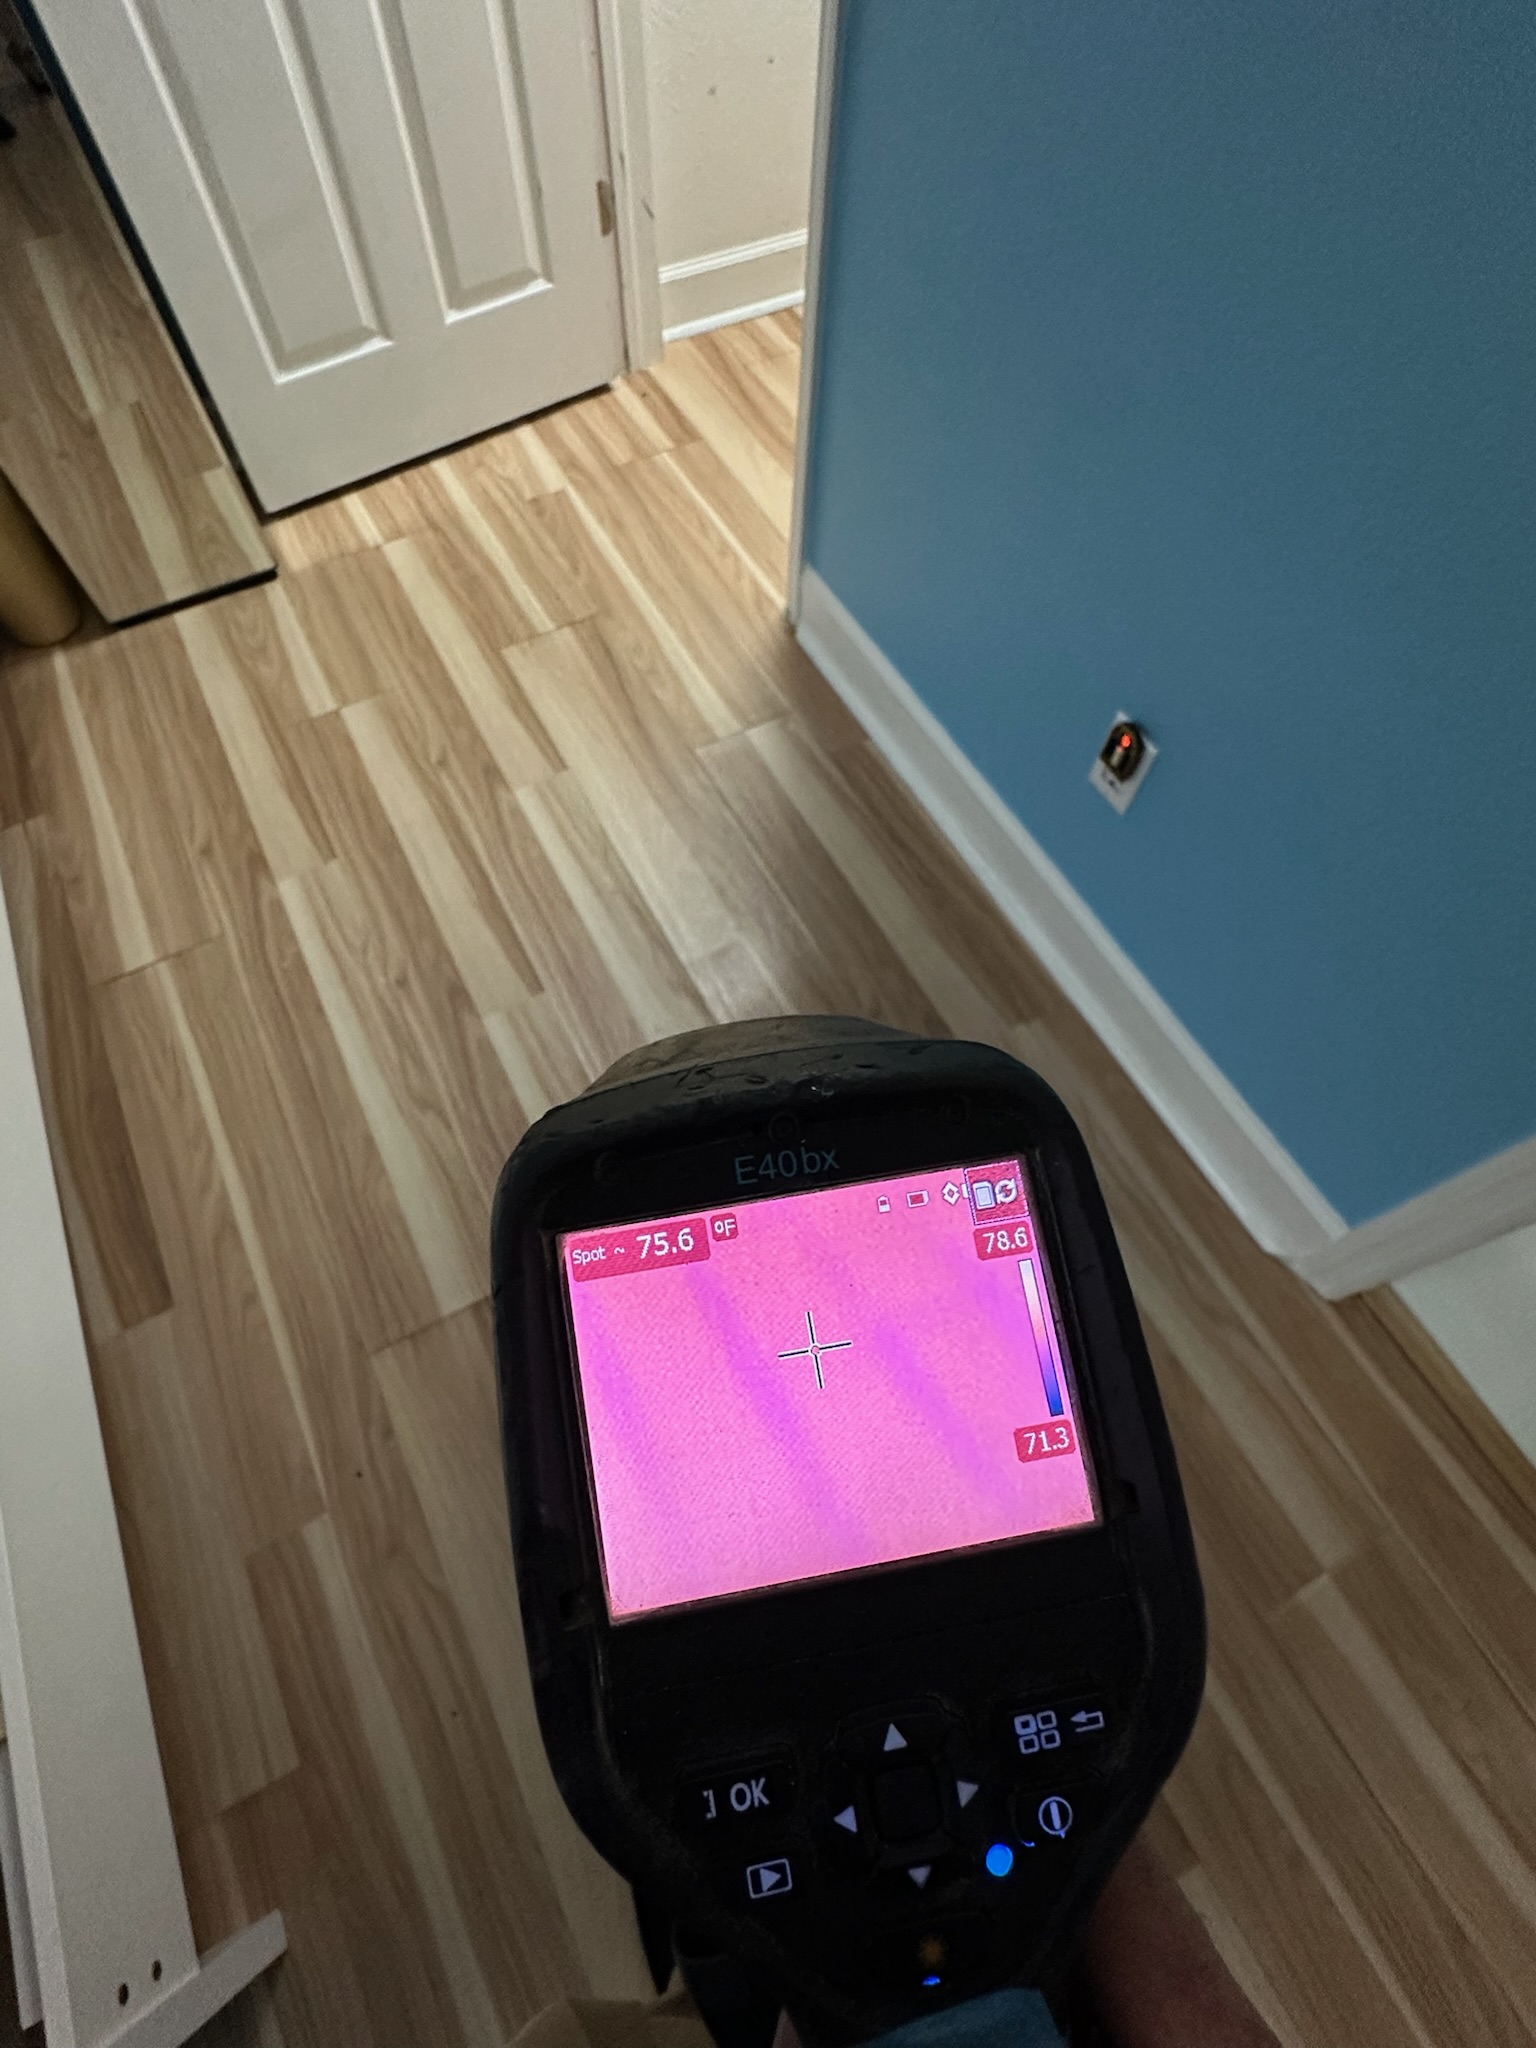
3. Early Clues from the Living Room
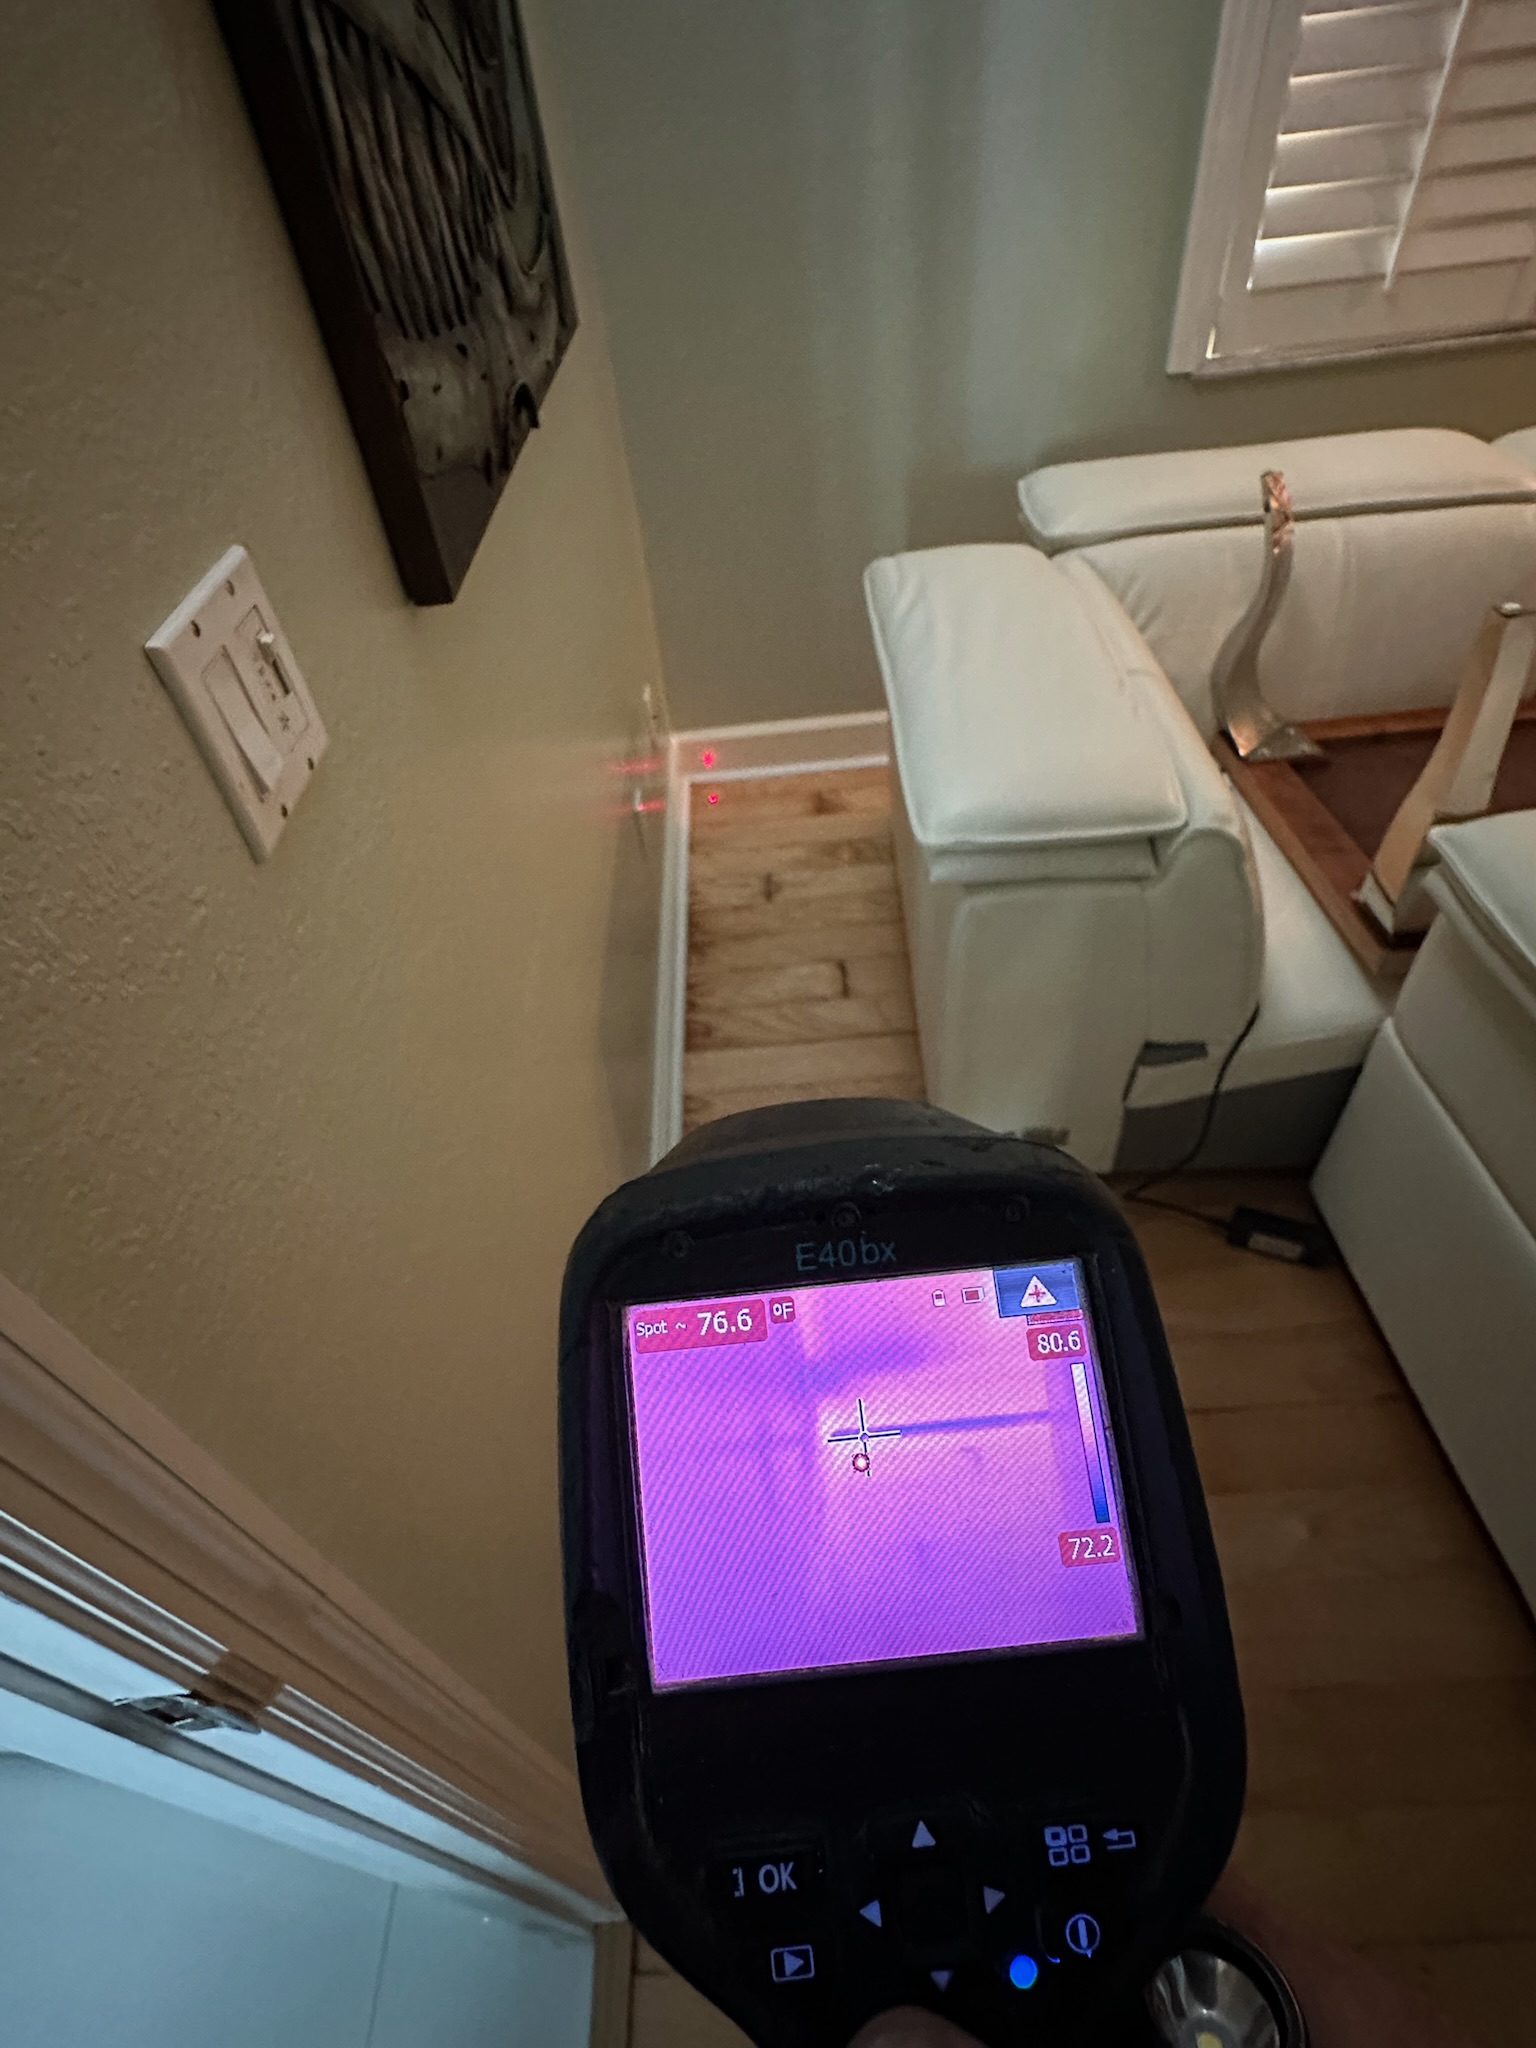
On the adjacent living room wall, we started to see some clues. The wood flooring showed visible discoloration—typical of water damage. Using the infrared camera, we could detect moisture trapped inside the wall cavities, even though the source remained elusive.
4. Moisture Spreading to the Front of the Home
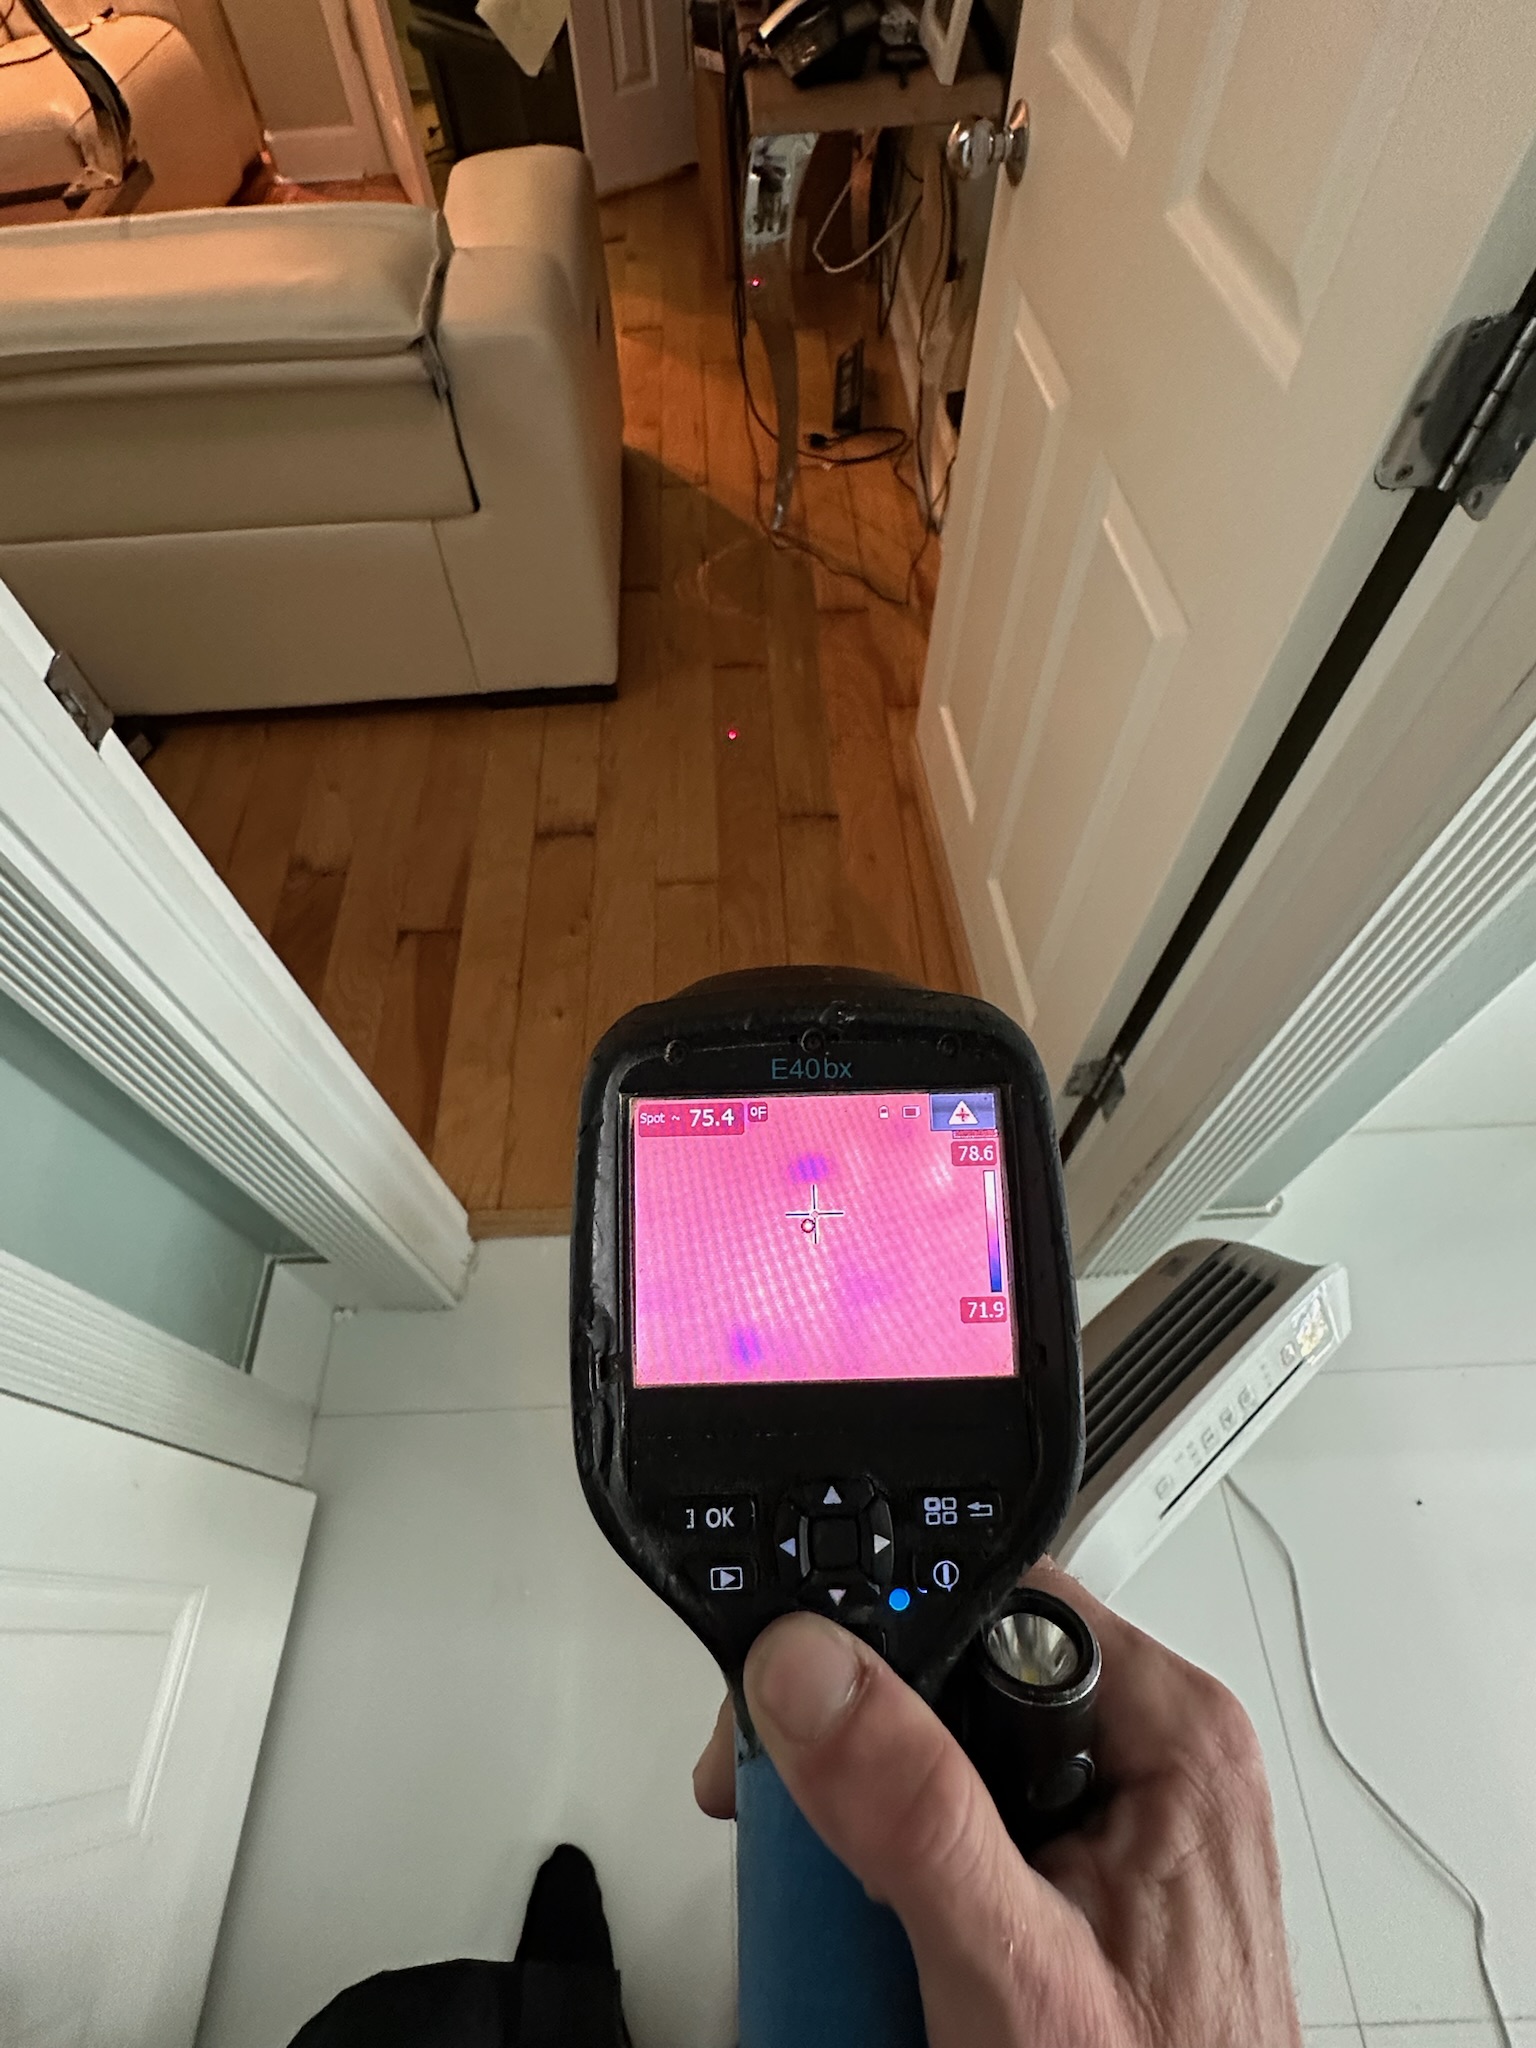
In the front portion of the same room, there were signs of moisture in the wood floor seams. These subtle changes are often overlooked, but with the right tools, they tell a story. Water was clearly migrating across the home, far from its origin.
5. Warped Flooring in the Center of the Home
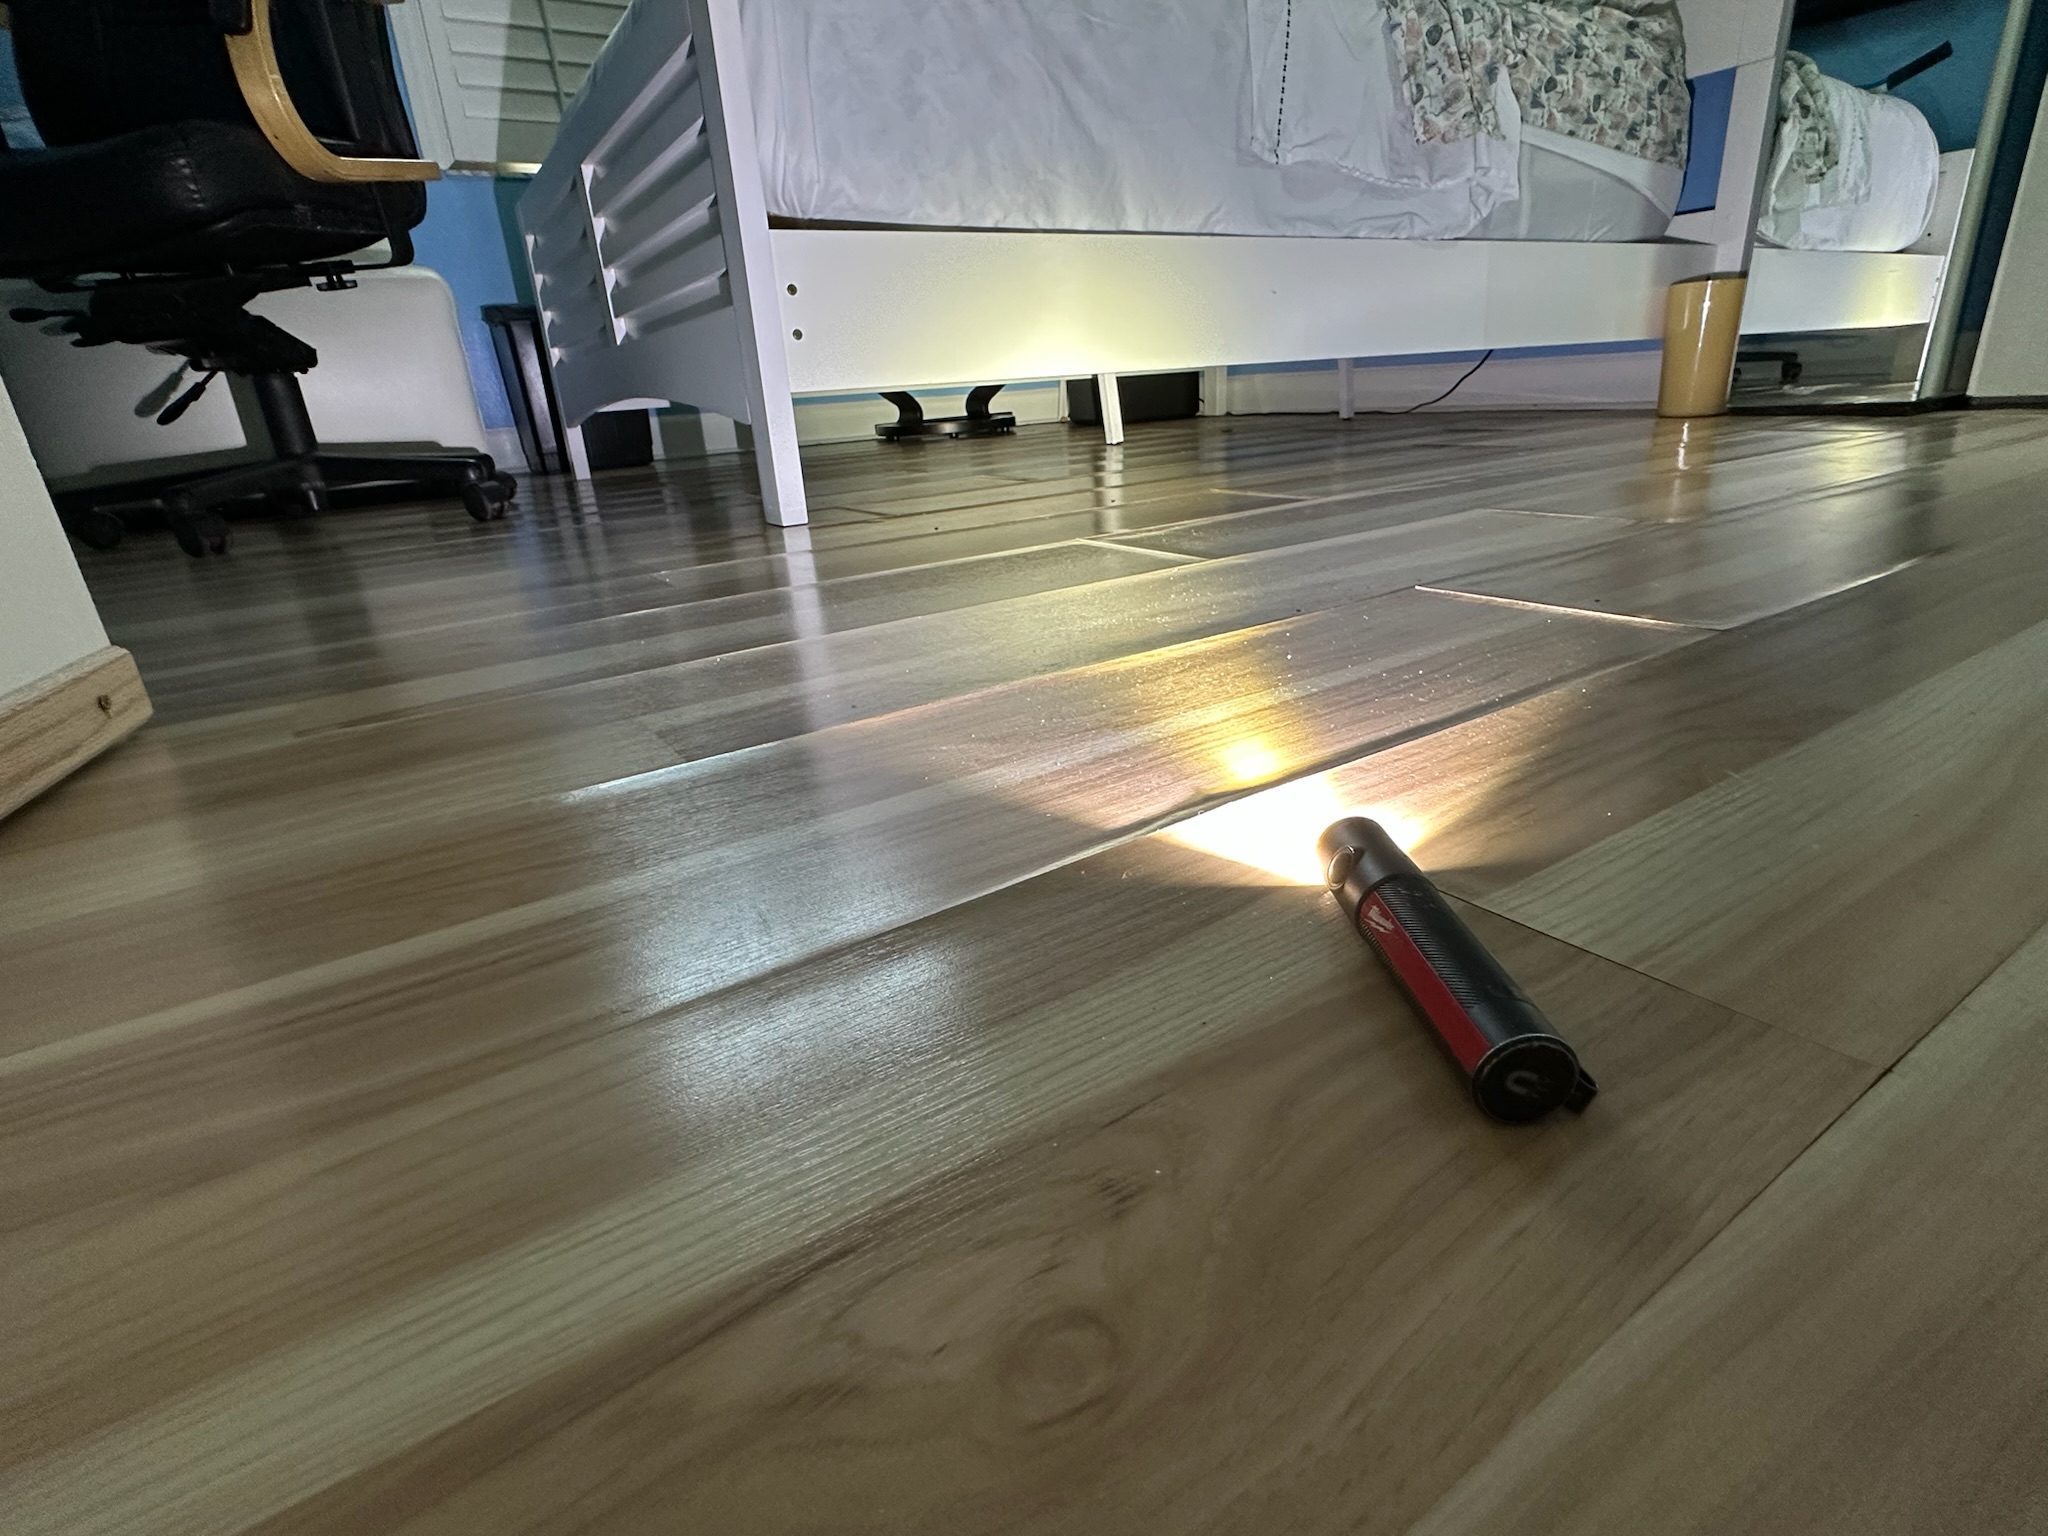
In the center of the home, things got worse. With just a flashlight, Tyler revealed how warped the flooring had become from prolonged exposure to water. This was no small leak—it had been spreading quietly for some time.
6. Moisture in the Closet Walls
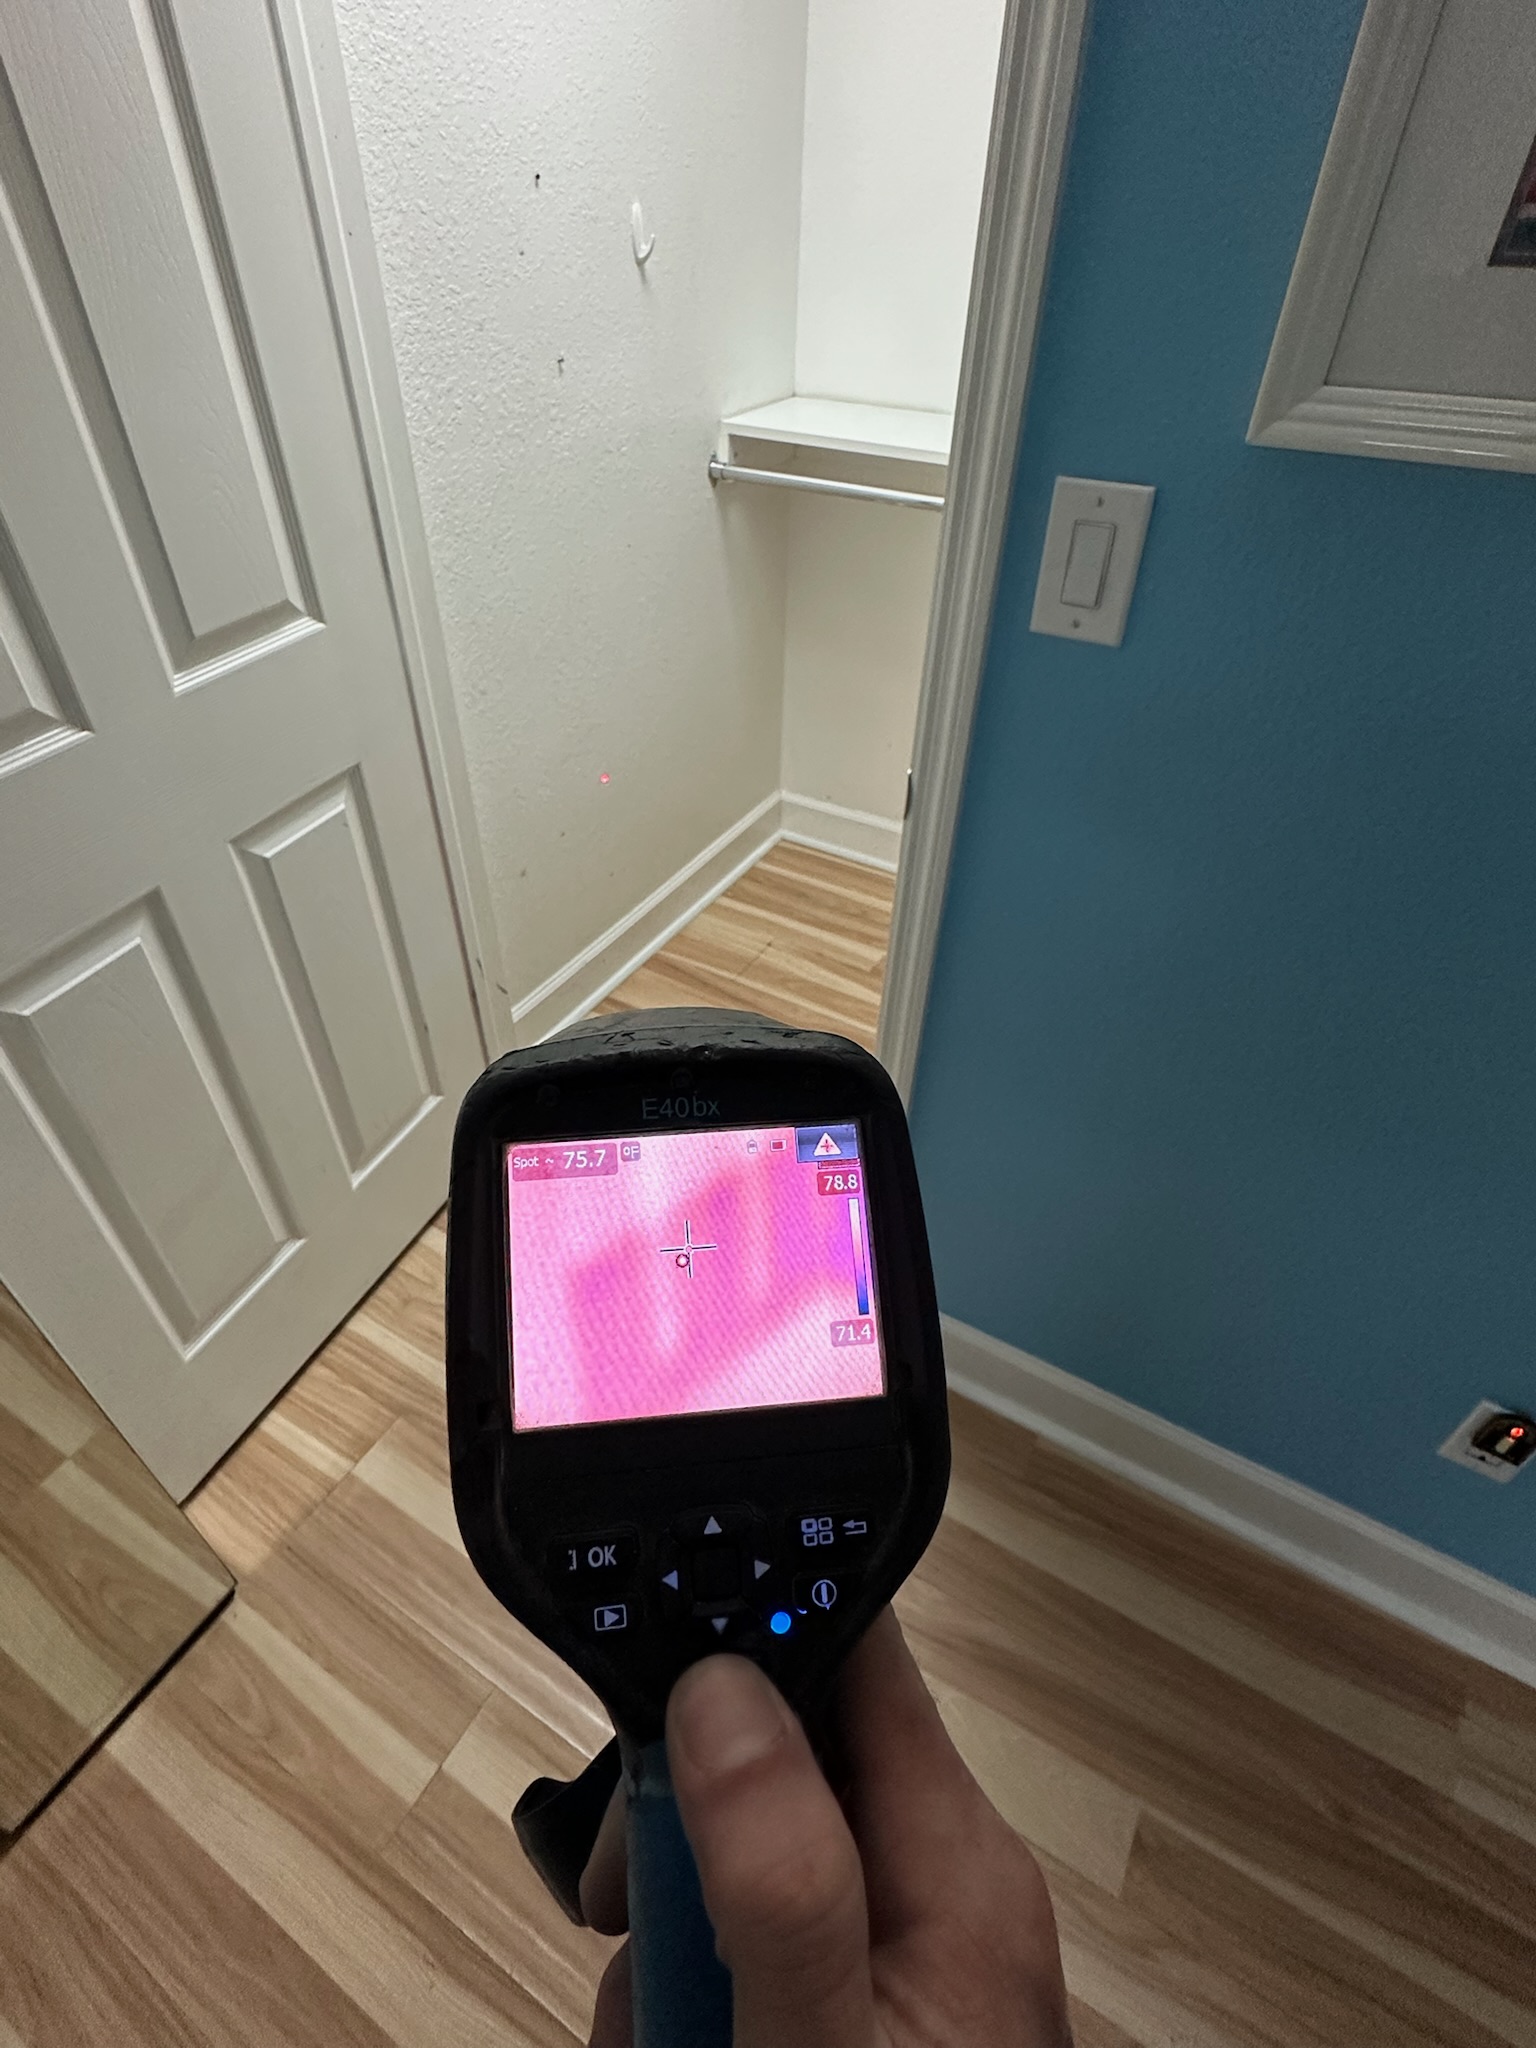
Our infrared inspection in a nearby closet showed how the water had wicked its way up into the walls. If left unchecked, this would lead to mold growth, structural weakening, and thousands of dollars in repair costs.
7. Hallway Clues Near the Center of the Home
The hallway just off the closet also showed signs of moisture damage in the wood flooring. Again, this was in the center of the home—not anywhere near the hose bibb or the area showing water in the front of the house.
8. Misguided Demo Work in the Garage
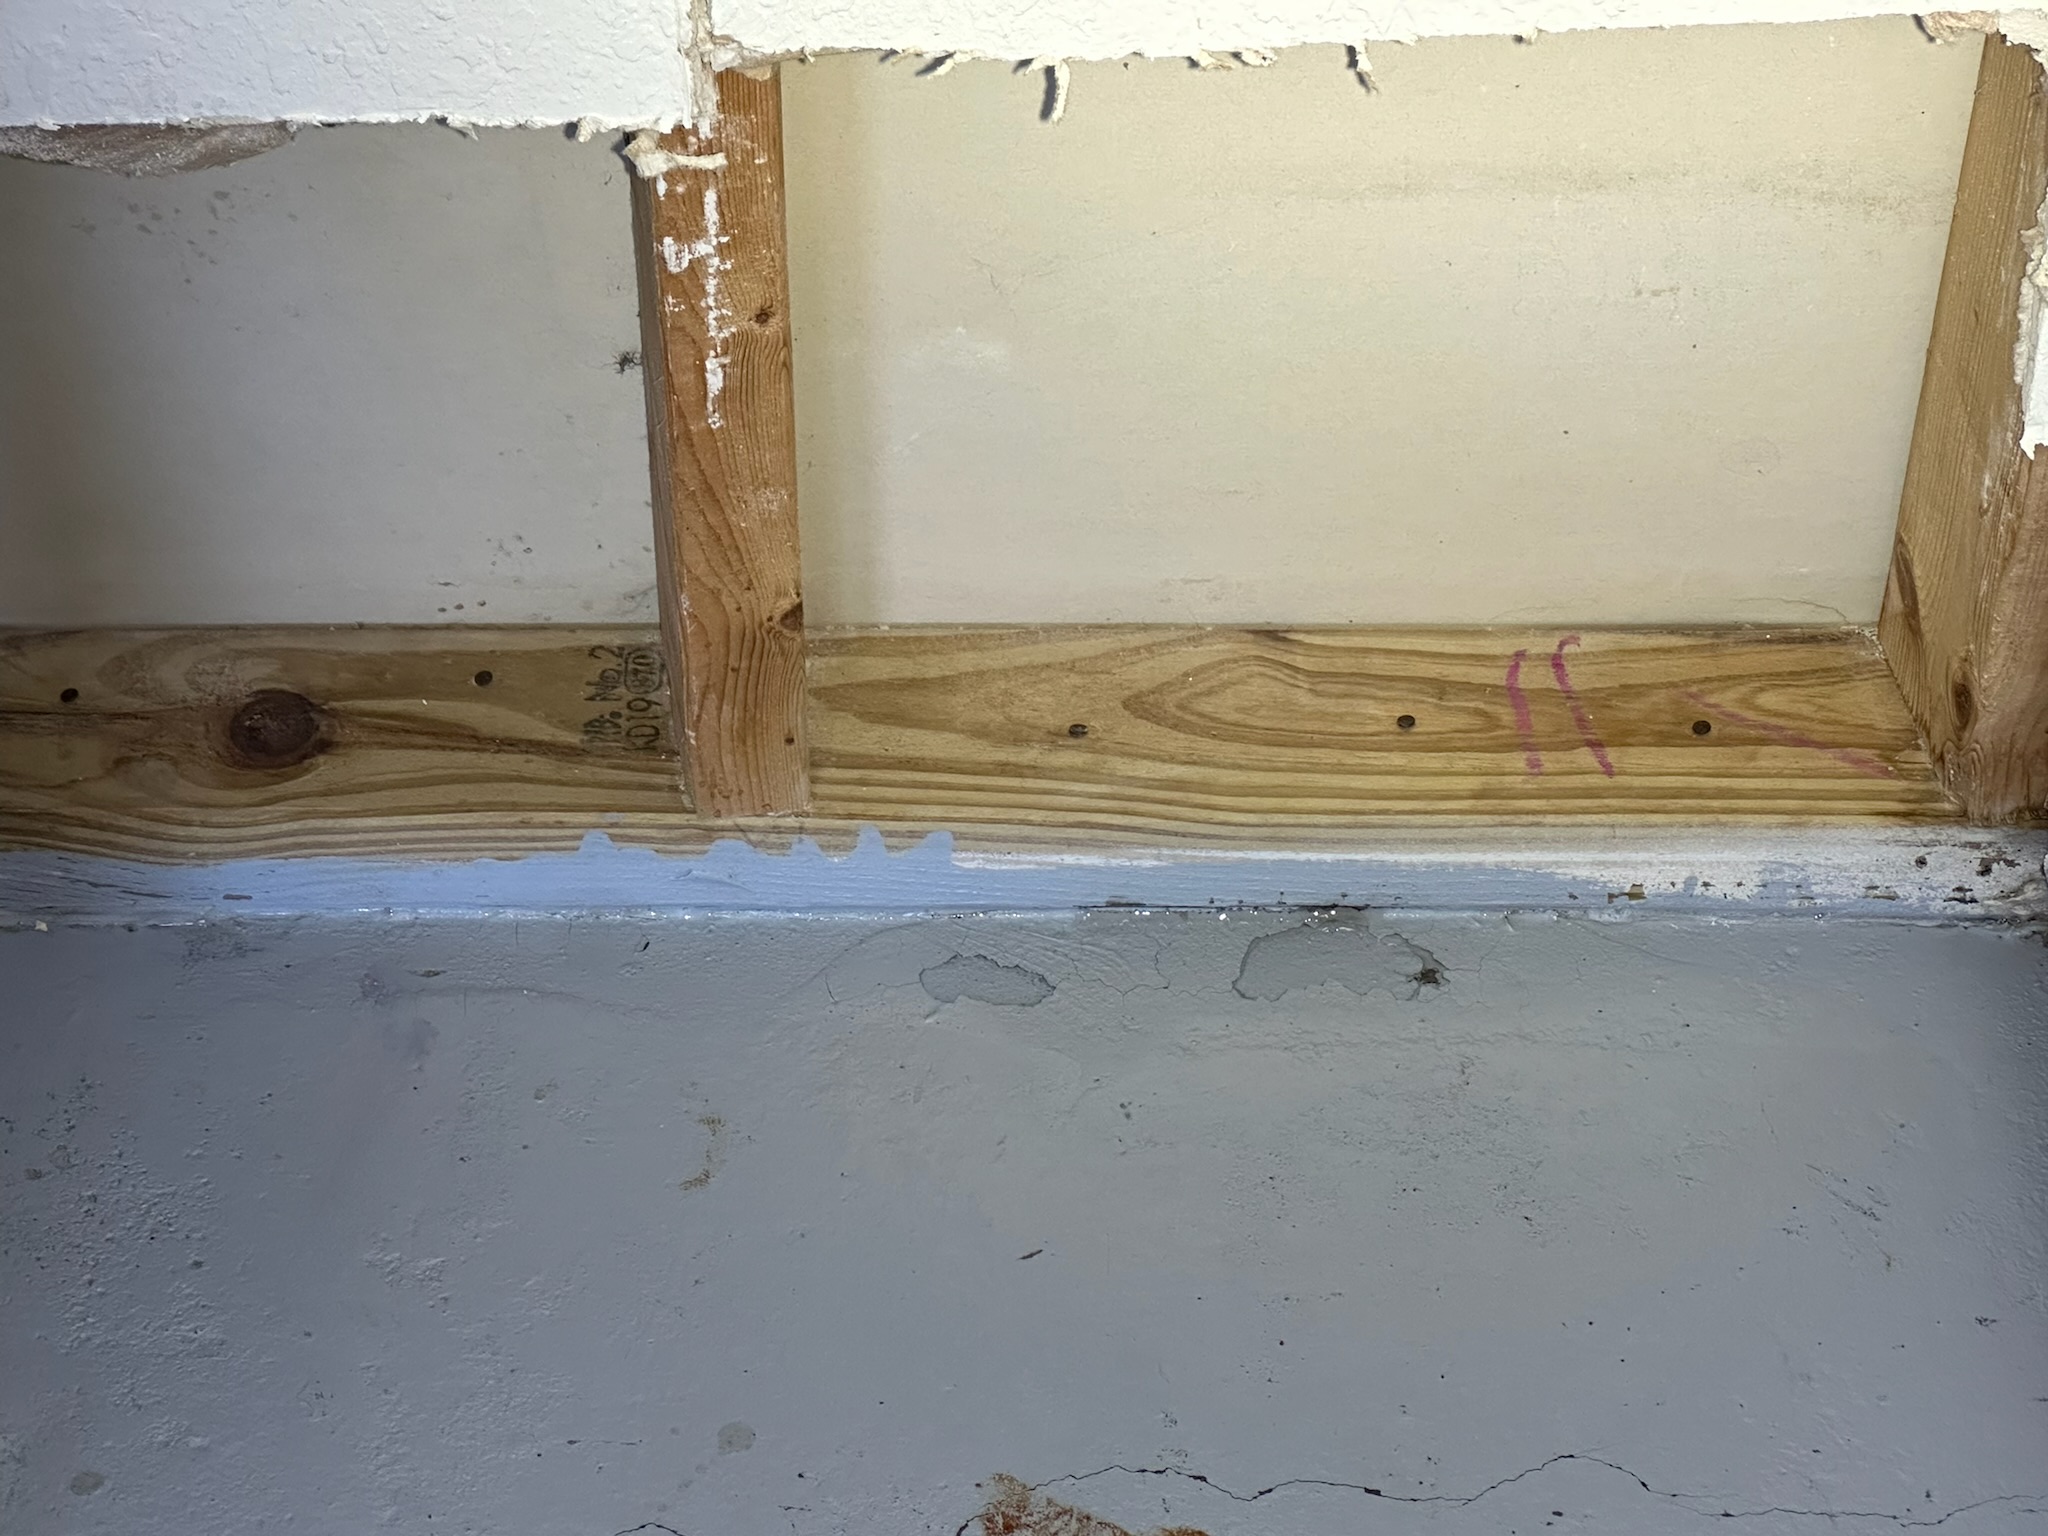
Unfortunately, before calling I Find Leaks, the homeowner had another service provider come out. They cut into the wall in the garage at the front of the home, completely on the wrong side. Without proper leak detection equipment, their guesswork not only failed to find the leak—it created more damage.
9. Finding the Leak at Last
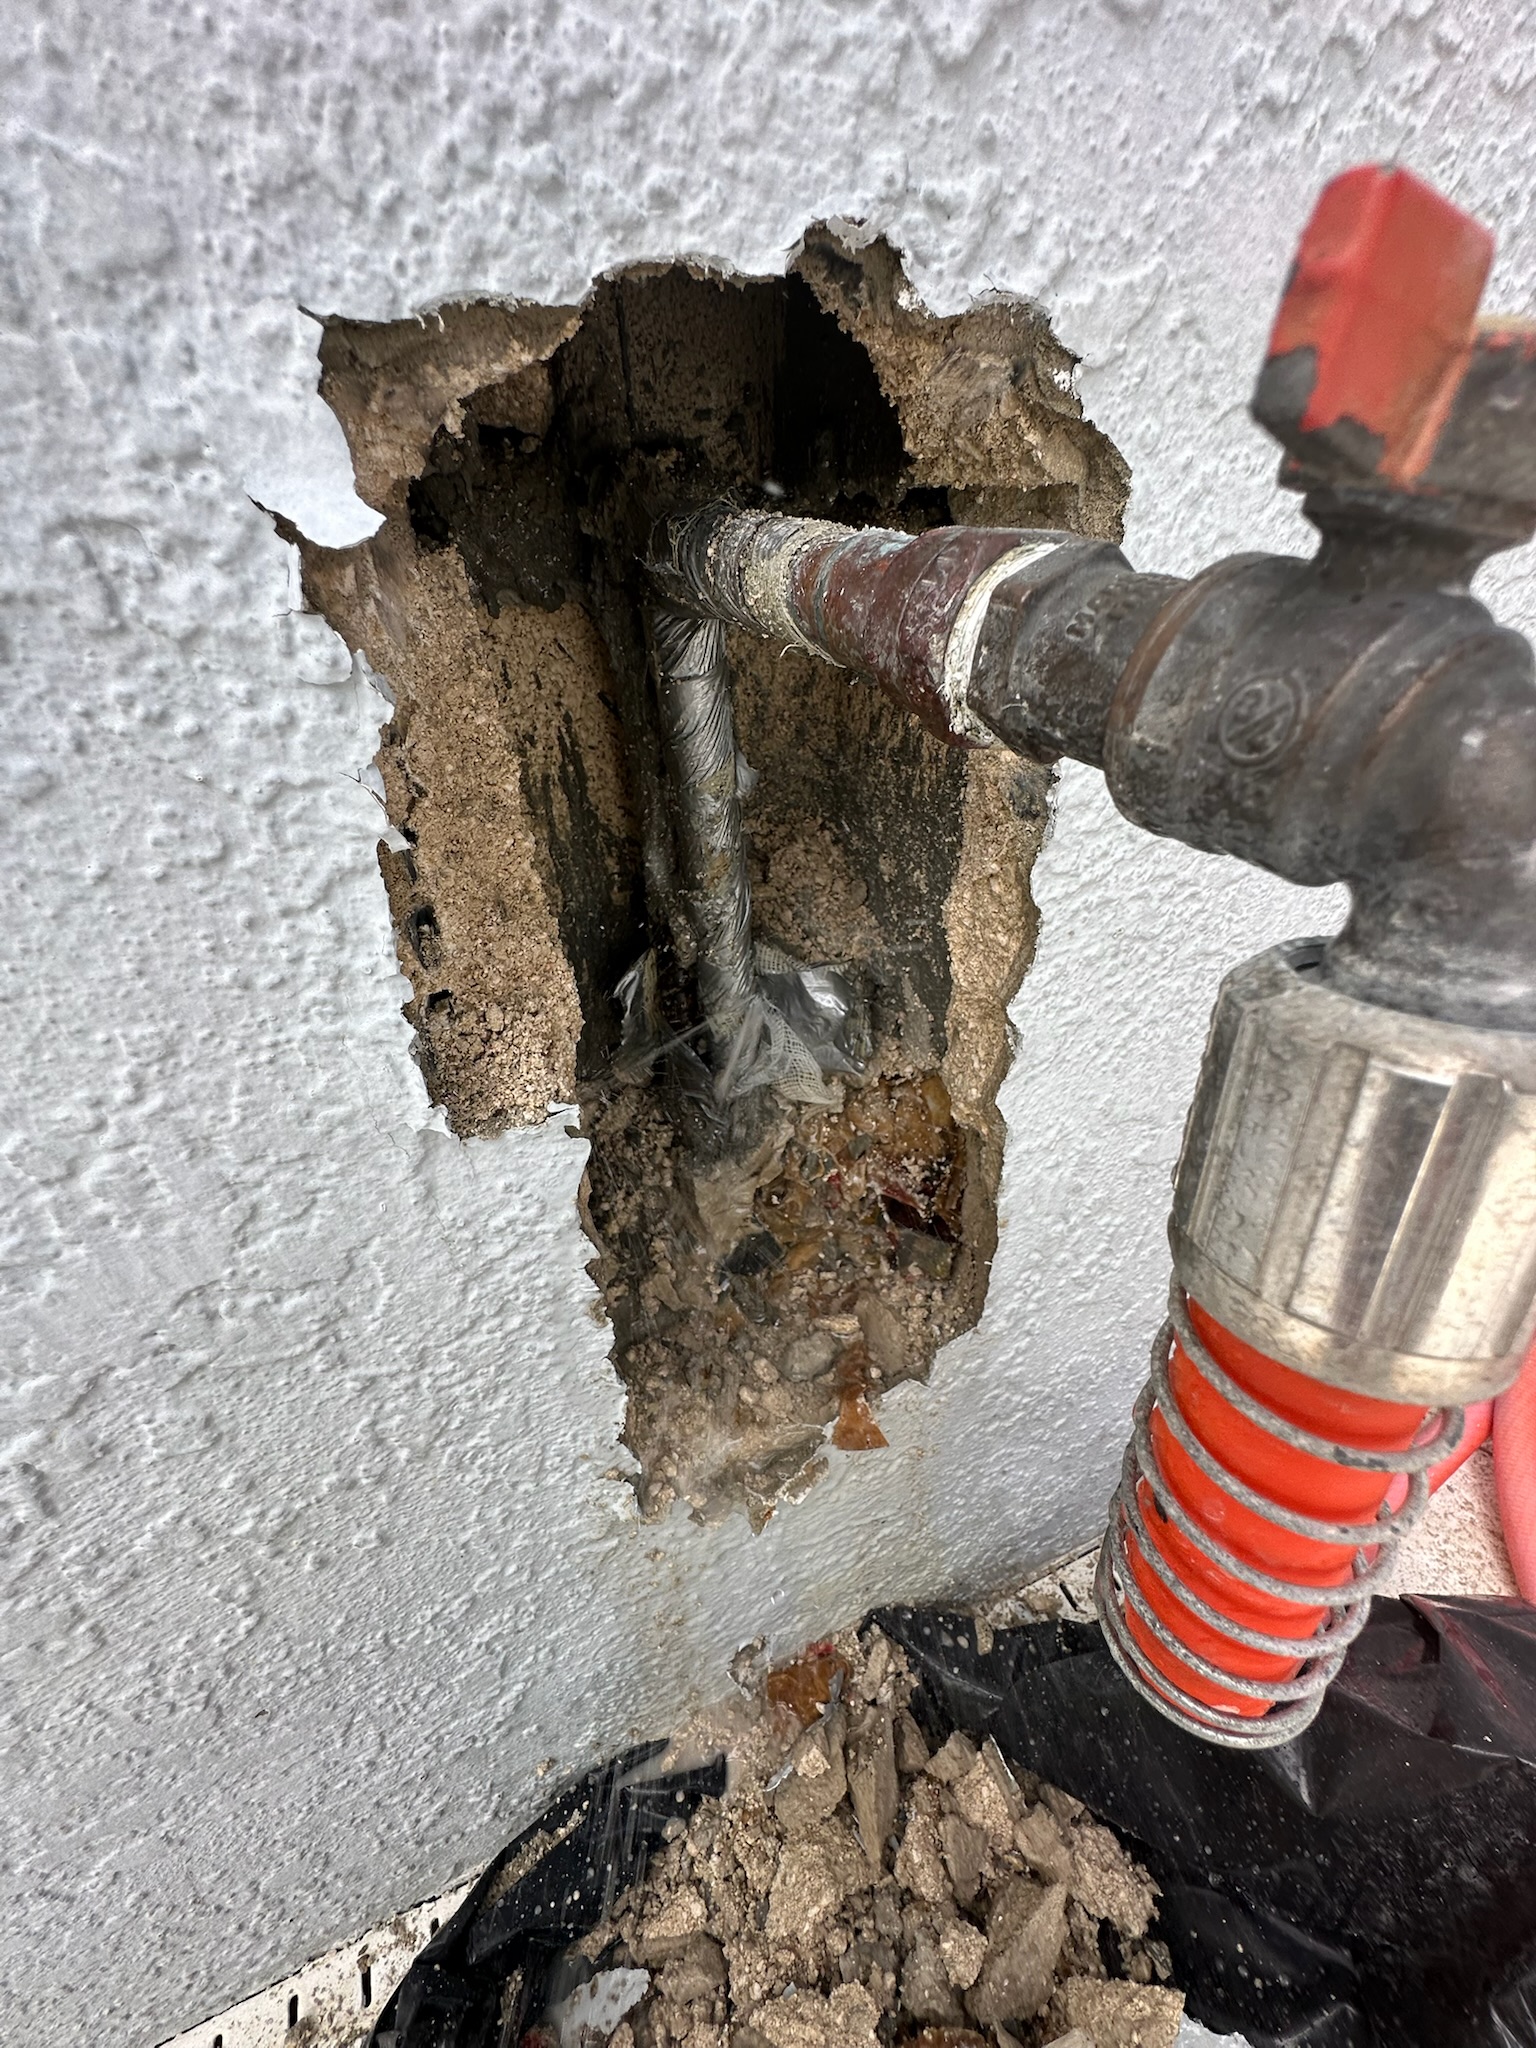
After using ultrasonic listening equipment that hears the precise frequencies of leaking water, Tyler pinpointed the exact location: the copper pipe behind the hose bibb on the back side of the house. A small jackhammer job exposed the leaking pipe with precision.
10. The Smoking Gun
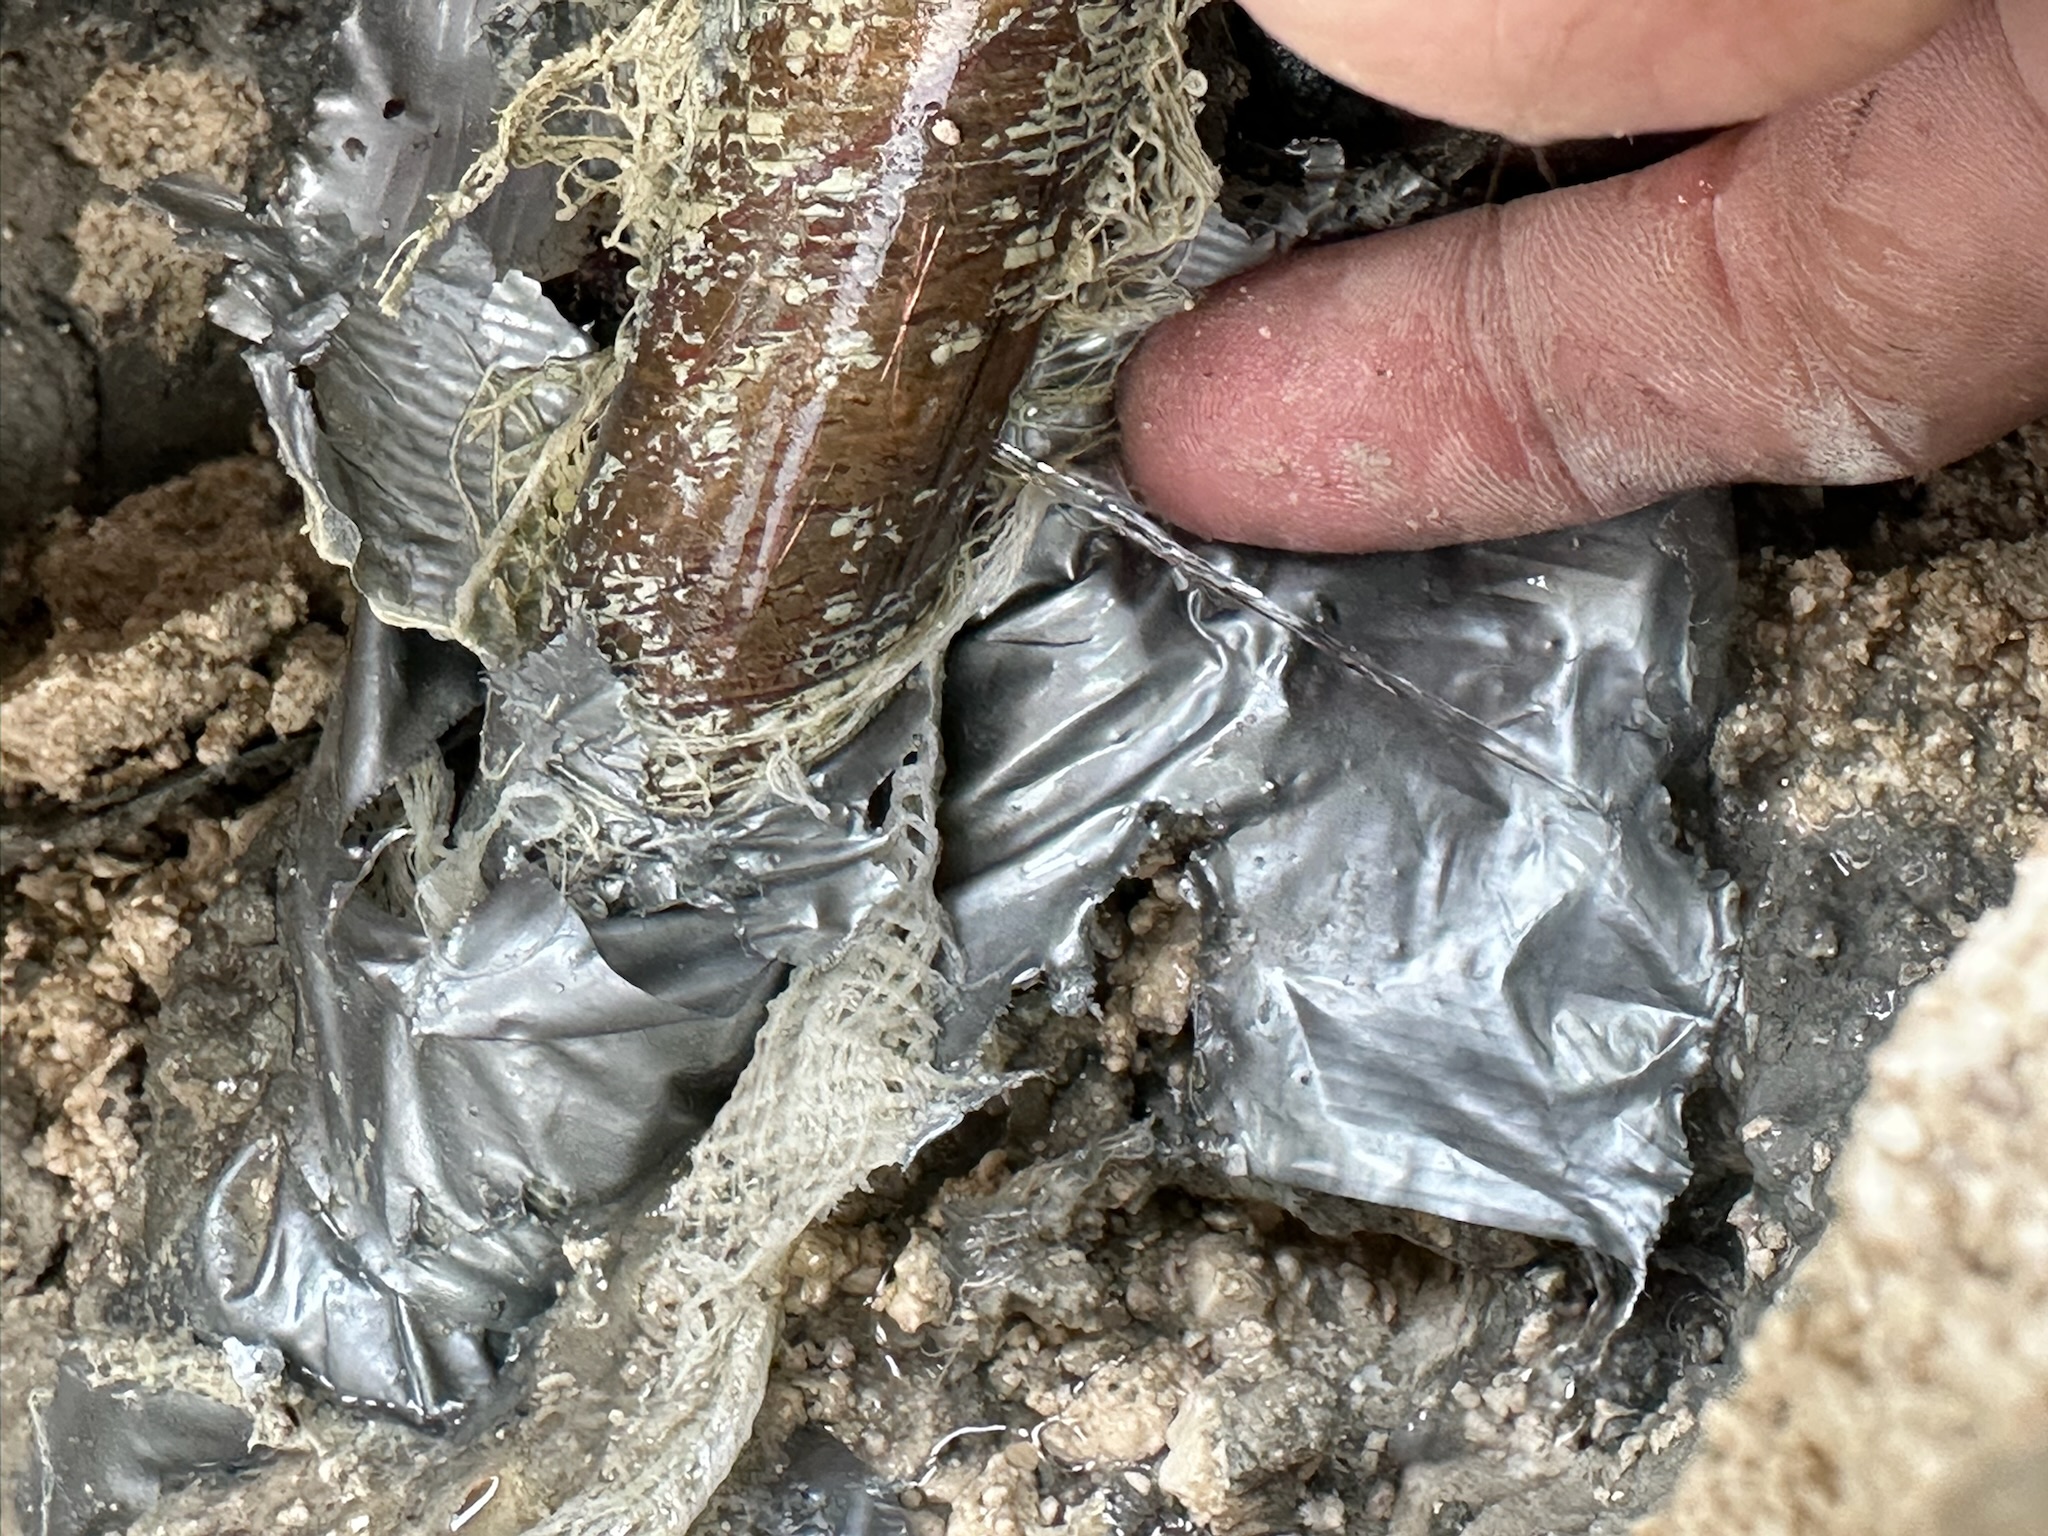
There it was. A close-up view of the copper pipe shows water actively spraying from the crack. You can even see Tyler’s finger pointing to the exact source. This leak—hidden inside a concrete block wall—had traveled through flooring and walls, flooding nearly the entire length of the home.
Why You Need Professional Leak Detection in Clearwater
If the homeowners had relied on a general plumber or handyman, they likely would’ve ended up with multiple holes in walls, floors torn up, and no clear answer. With professional leak detection:
- You avoid unnecessary demolition
- The leak is located faster and with more accuracy
- You save thousands in potential water damage
- You reduce the risk of mold and long-term structural issues
At I Find Leaks, we specialize in non-invasive leak detection using state-of-the-art tools including infrared cameras, ultrasonic listening devices, and moisture mapping technology. If you suspect a water leak in Clearwater, don’t guess—call the pros.
Need Leak Detection in Clearwater?
Don’t wait until your home is flooded. If you notice signs of a high water bill, warping floors, or unexplained moisture—contact I Find Leaks today.
📞 Call now or request an appointment online
📍 Serving Clearwater, Pinellas County, and the surrounding areas